Source :
http://www.unixmen.com/install-and-configure-openvz-in-ubuntu/
http://www.unixmen.com/openvz-web-panel-managing-openvz-containers-graphically/
http://www.webhostingtalk.com/showthread.php?t=1042937
1. Add OpenVZ Repository
Switch to root user:
sudo su
First, we will add OpenVZ Repository.
cat << EOF > /etc/apt/sources.list.d/openvz-rhel6.list
deb http://download.openvz.org/debian wheezy main
# deb http://download.openvz.org/debian wheezy-test main
EOF
Import OpenVZ GPG key:
wget http://ftp.openvz.org/debian/archive.key
apt-key add archive.key
2. Install OpenVZ kernel
Update software sources using command:
sudo apt-get update
Now, install OpenVZ kernel:
apt-get install linux-image-openvz-amd64
Or, if you still have i686:
apt-get update && apt-get install linux-image-openvz-686
3. Setting up Kernel parameters
Make sure you have added the following kernel parameters before logging into vz kernel.
vi /etc/sysctl.conf
Add the following lines:
# On Hardware Node we generally need
# packet forwarding enabled and proxy arp disabled
net.ipv4.ip_forward = 1
net.ipv6.conf.default.forwarding = 1
net.ipv6.conf.all.forwarding = 1
net.ipv4.conf.default.proxy_arp = 0
# Enables source route verification
net.ipv4.conf.all.rp_filter = 1
# Enables the magic-sysrq key
kernel.sysrq = 1
# We do not want all our interfaces to send redirects
net.ipv4.conf.default.send_redirects = 1
net.ipv4.conf.all.send_redirects = 0
5. Install OpenVz usage statistics tools
The following tools to be installed to gather the OpenVZ usage statistics. Here is the reason why you should install these tools.
apt-get install vzctl vzquota ploop vzstats
That’s it. We have successfully installed OpenVZ.
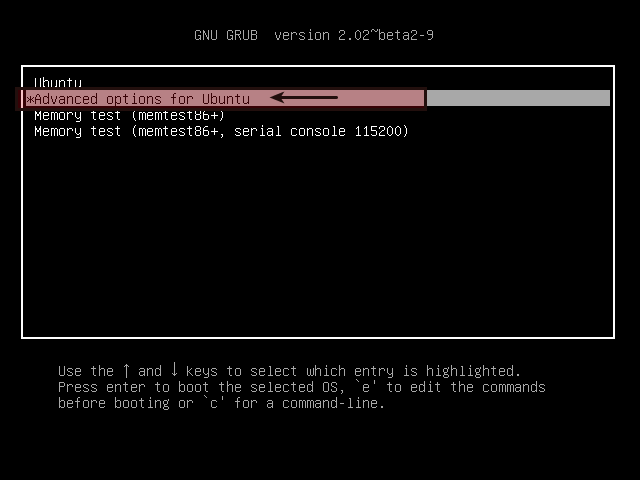
Now, it’s time to reboot and log in to OpenVZ kernel(it should be the default choice in the boot loader). In Ubuntu 14.04, it should be under Advanced options in the boot loader menu.
We’ll see how to create virtual machines using OpenVZ in our upcoming tutorials.
While creating VMs, make sure you have the same subnet on both physical and virtual machine. If you want to use different subnet, you have to edit /etc/vz/vz.conf file,
vi /etc/vz/vz.conf
Find and uncomment the line:
NEIGHBOUR_DEVS=detect
And, change it to:
NEIGHBOUR_DEVS=all
***
$ update-grub
Searching for GRUB installation directory … found: /boot/grub
Searching for default file … found: /boot/grub/default
Testing for an existing GRUB menu.lst file … found: /boot/grub/menu.lst
Searching for splash image … none found, skipping …
Found kernel: /boot/vmlinuz-3.13.0-68-generic
Found kernel: /boot/vmlinuz-3.13.0-24-generic
Found kernel: /boot/vmlinuz-2.6.32-openvz-042stab112.15-amd64
Updating /boot/grub/menu.lst … done
***
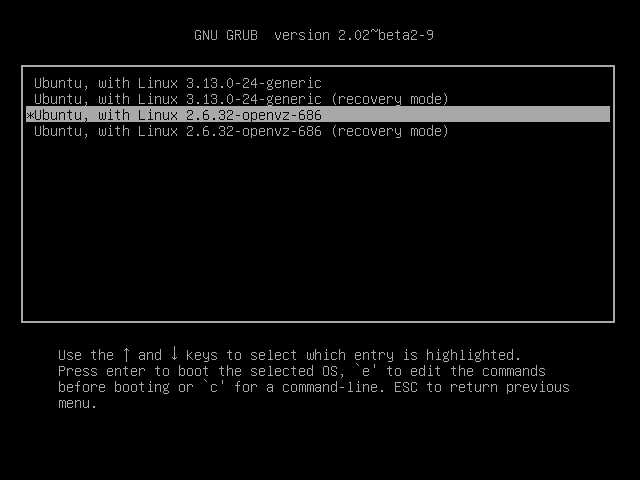
Next we have to make sure that the correct kernel (the OpenVZ kernel) is booted when you restart the system.
This means there is also another kernel on the system (3.8.0), and the openVZ kernel (2.6.32) is not the first in the list. So to make the OpenVZ kernel the default kernel, we have two options – adjust the default kernel in GRUB (recommended) or remove the non-VZ kernel(s).
To adjust the default kernel in GRUB, open /etc/default/grub…
vi /etc/default/grub
… and modify the GRUB_DEFAULT line (counting starts with 0; our OpenVZ is the third kernel in the Advanced options for Ubuntu GRUB submenu (which is the second option in the boot menu after the 3.8.0 kernel), so we need to put in “1>2” here (in quotes) – you can find more about GRUB submenus here: https://help.ubuntu.com/community/Grub2/Submenus):
[...] GRUB_DEFAULT="1>2" [...] |
Update GRUB afterwards:
update-grub
— or —
cat /boot/grub/menu.lst
change your boot grub to openvz kernel
cat /boot/grub/grub.conf
default=0
timeout=10
title vmlinuz-2.6.32-openvz-042stab112.15-amd64
root (hd0,0)
kernel /boot/vmlinuz-2.6.32-openvz-042stab112.15-amd64 root=LABEL=root ro
initrd /boot/initrd.img-2.6.32-openvz-042stab112.15-amd64
$ uname -r
***
$ apt-get install software-properties-common
$ apt-add-repository ppa:brightbox/ruby-ng
$ apt-get update
$ apt-get install ruby1.8
$ sudo apt-get install rubygems1.8
$ update-alternatives –set ruby /usr/bin/ruby1.8
$ apt-get install sqlite3 libsqlite3-dev
$ gem install sqlite3-ruby
$ wget -O – https://raw.githubusercontent.com/sibprogrammer/owp/master/installer/ai.sh | sh
***
in case if openvz kernel (hw daemon) still can not start, then re-install openvz web panel :
$ wget -O – https://raw.githubusercontent.com/sibprogrammer/owp/master/installer/ai.sh | sh -s UNINSTALL=1
$ wget -O – https://raw.githubusercontent.com/sibprogrammer/owp/master/installer/ai.sh | sh
Installation finished.
Product was installed into: /opt/ovz-web-panel/
Starting services…
Starting OpenVZ Web Panel…
Starting watchdog daemon…
[OK] Watchdog daemon was started.
Starting web server webrick on 0.0.0.0:3000…
[OK] Web server was started.
Starting hardware node daemon…
[OK] Hardware node daemon was started.
Syncing hardware nodes states…
[OK] Hardware nodes information was synced.
Adding localhost to the list of controlled servers…
Panel should be available at:
hostname: Name or service not known
http://:3000
Default credentials: admin/admin
———————————–
$ sudo ruby /opt/ovz-web-panel//utils/hw-daemon/hw-daemon.rb start
$ service owp restart
***
In this tutorial i use virtualizor as a host for openvz web panel vps 🙂 , so the order is similar with this :
Virtualizor (assign/add minimal 2 ip public for OpenVZ Web Panel vps) —–> OpenVZ Web Panel (unbind the binding ip like below)
To start off with, the IP address are bound to eth1 (or eth0, etc). When you are using a server for VPS hosting, this can not be. You will to unbind these IP address then you will be able to access the net from the VPS. To do this, you will need to delete (or comment) records for eth1:1 thru eth1:12. These can be found in /etc/network/interfaces. Once you have those deleted, you will need to restart the network service by running this command, service network restart.
I also see that you have the VPS assigned the same IP address as eth1. If this is the main IP address that is used to access the server form the web, I would change that. What I mean by that is you can’t assign that IP address to a VPS as it is bound to a eth device.
$ ip addr sh
$ vi /etc/network/interfaces
comment (#) eth0:0 records
$ reboot
***
If necessary, in OpenVZ Web Panel, fill the vps dns with 8.8.4.4 (google dns) or else,
then in console (OpenVZ Web Panel) try to ping internet site :
ping google.com -c 4
Finally, try to ssh your new created vps.
Enjoy 🙂

http://ovz-web-panel.googlecode.com/svn/installer/ai.sh <- linknya tiwaz gan
coba ini bro,
https://raw.githubusercontent.com/sibprogrammer/owp/master/installer/ai.sh
sudah saya update link nya